

How to move a fridge and washing machine: a guide from disconnecting to the first wash
Moving large household appliances is a logistical challenge. It's not just about the weight – above all, it's about delicate electronics and mechanisms that are easily damaged in transit. Want to avoid flooding your new flat or breaking your fridge's compressor?
Here is a step-by-step guide to getting your appliances ready for the road with 4RELO.
❄️ Fridge: patience is key
The fridge is the fussiest appliance in the whole house. You can't simply carry it out.
Step 1: Emptying and defrosting (at least 24 hours before)
The fridge must be completely dry. Defrosting it “in a hurry” on the morning of the move is a recipe for a puddle in the van and other boxes getting damp.
- 4RELO tip: Take out all the glass shelves and drawers. Pack them separately in bubble wrap. If you leave them inside, they can crack at the first bump in the road.
Step 2: Securing the doors and the cable
Wrap stretch film all the way round the fridge. That way, the doors won't suddenly swing open while it's being carried down the stairs. Coil up the cable and tape it to the casing – nobody wants to trip over it in the stairwell.
Step 3: Transport (upright only!)
This is the question people ask Google most often. Can a fridge be transported lying down? The answer is: NO. Lying flat can let oil from the compressor get into the cooling system, which will permanently damage the appliance.
Step 4: Switching it on for the first time
Once the fridge is in your new kitchen... don't switch it on straight away! It needs a ‘rest after all that carrying’ and has to stand upright for at least 6–12 hours (ideally a full day) so that its working fluids can settle back where they belong.

🧼 Washing machine: remember the “lifesaver bolts”
A washing machine is heavy (because of the concrete counterweight inside), and its drum hangs on delicate springs.
Step 1: Disconnecting the water and draining
Turn off the valve, disconnect the inlet hose and – importantly – empty the pump filter (usually at the bottom, at the front). There is always a little water left in there, and it will spill out at the worst possible moment.
Step 2: Transit bolts (a crucial step!)
Remember those long bolts you removed when you bought the washing machine? Now they need to go back in! They lock the drum in place and stop it from being wrenched loose by jolts along the way.
- No bolts? Fill the gap between the drum and the casing with old blankets or plastic film, for example, but remember – this is only an emergency fix. At 4RELO, we always recommend tracking down the original transit bolts.
Step 3: Securing the hoses
Washing machine hoses love to “wander off” and catch on door frames. Tape them to the back of the casing.
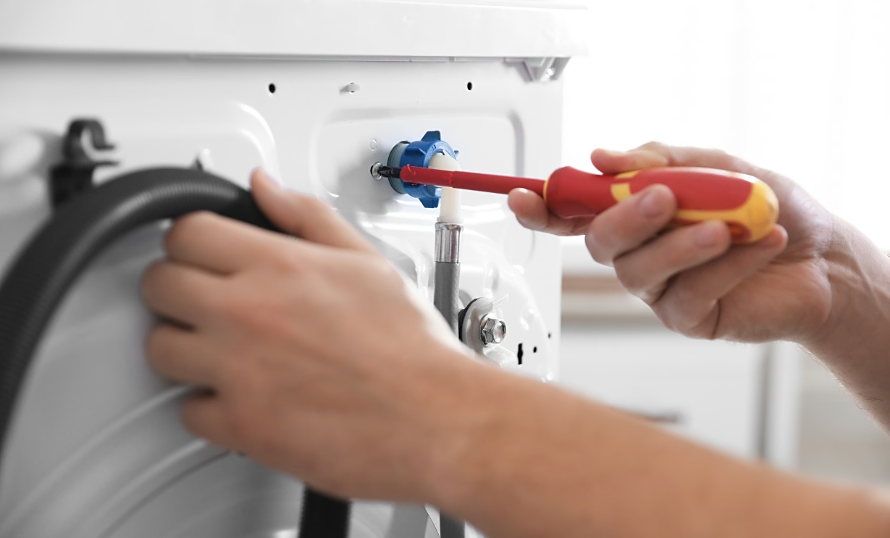
🛠️ Installing in your new home – what should you remember?
Once the appliances have arrived at your new home, it's time for the grand finale:
- Levelling: It's not just about looks. A washing machine that isn't level will “jump” all over the bathroom, and a fridge may run more noisily. Use a spirit level!
- Removing the locks: If you fitted the transit bolts in your washing machine – take them out before the first wash! Running the machine with the locks still in place is a sure-fire way to wreck the motor and drum.
- Checking for leaks: Once the hoses are connected, run an “empty” wash and watch for any moisture around the valves.
A 120 kg side-by-side fridge? A washing machine on the 4th floor with no lift? That's all in a day's work for us. The 4RELO crew has the straps, trolleys and experience to get your appliances to their destination without a single scratch.
Need help moving heavy appliances?
Get in touch using the form on our website – we'll gladly take that weight off your shoulders!
Get a free quote
Free quote within 24h
Your request has been sent. We’ll be in touch shortly.